There are two options for connecting FlightView with the TY91. If you purchased and installed the Trig control head, you will need to use option 1 (FlightLink RS-232 to the TC90 Control Head). If you did not purchase the control head you will need option 2 (FlightLink RS-485 Direct To The TY91).
FlightLink RS-232 to the TC90 Control Head
Connecting to the TC90 control head allows you to use either the control head or the COM interface in FlightView to set the active frequency. All other configuration (volume, squelch, side-tone, etc.) is handled by the control head. This option is good if you have the panel space for the control head, as it gives you two methods for controlling the TY91 radio.
The TC90 control head has an RS-232 communications port that “speaks” the Garmin SL-40 protocol. To interface this with FlightView, you will need a FlightLink COM 1 cable. Connect the orange Tx line on the cable to the Rx pin (6) on the TC90 control head. Connect the yellow Rx line on the cable to the Tx pin (5) on the TC90 control head. Connect the black ground line to any available ground pin.
A wiring diagram for connections using the TC90 control head is available here.
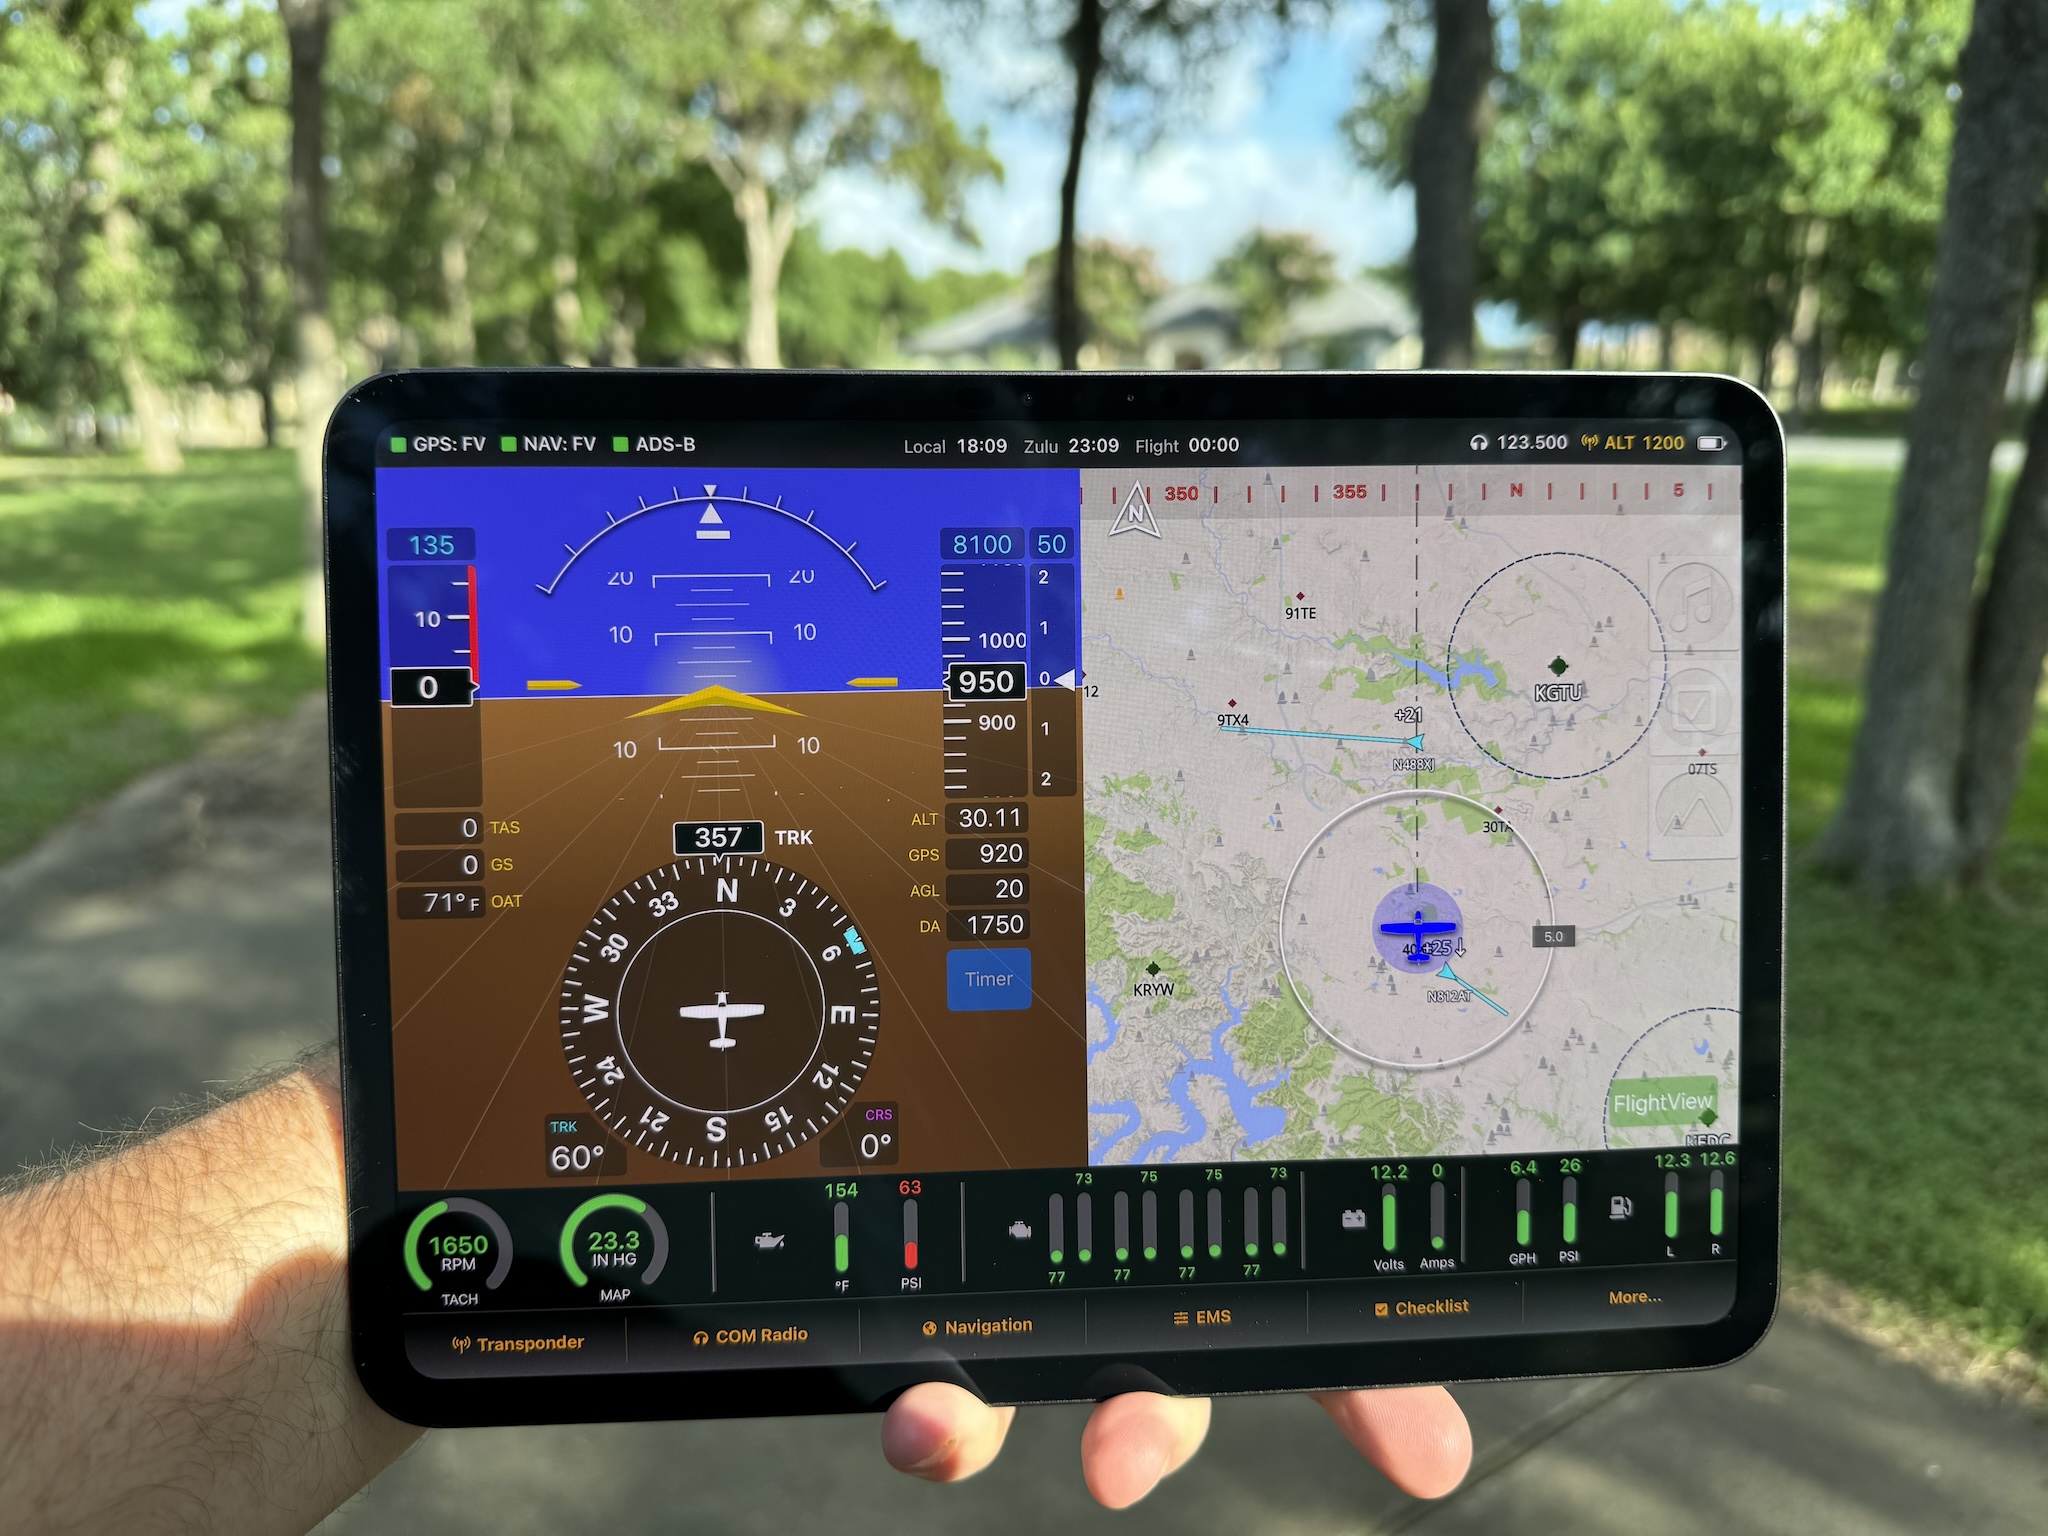
On the COM 1 configuration in FlightView (More… => Menu => System Hardware => Com One Radio) you need to enable the radio with the COM 1 Enabled switch, then select Garmin SL-40 as the Model.
FlightLink RS-485 Direct To The TY91
Using a direct connection between FlightView and the TY91 radio saves panel space and a small amount of money by foregoing the control head. In this case, all configuration of the radio is handled through FlightView. The active frequency is set using the standard FlightView COM screen. Radio options including volume, squelch, side-tone, and intercom config are handled through the COM 1 screen in system settings.
The TY91 uses Trig’s TMAP protocol to communicate with the controller (in this case, FlightView). The physical link used to establish the connection is an RS-485 adapter (a different model from the RS-485 adapter used with the TT2x transponder). If you order the TY91 bundle from us, it comes complete with the Trig factory harness and a FlightLink interface cable that connects to the DB-15 plug for the control head on the Trig harness. In this case all you need to do is connect the DB15 to the harness and the USB plug to an available USB port on your FlightView system.
If you opt to build your own harness, you will need a FlightLink TY91 COM Bare Wire adapter from us – not just any RS-485 adapter can be used. You will need to connect the A line (yellow wire) to the A pin (3) on the TY91 (pin 3) and the B line (blue wire) to the B pin (4) on the TY91. You will also need to connect Power ON (pin 13) to a ground pin to turn the radio on. (All other pins on the DB-25 as per the Trig documents.)
A wiring diagram showing a direct connection from FlightView to the TY91 is available here.