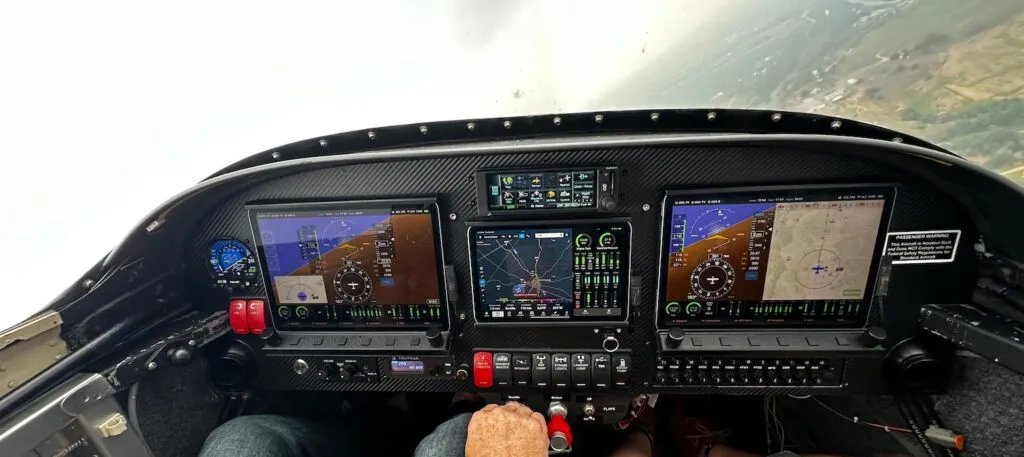
Since we’ve started shipping FlightBox kits, I figured it was time to put up some instructions. The goal has always been to keep the process as simple and quick as possible. I’ve timed myself, and I can assemble a Dual Band FlightBox in about 4 minutes. A friend who agreed to act as a guinea pig took about 15 minutes, and he was using only the printed Assembly Guide. Based on his feedback and input from a number of other helpful reviewers, I tweaked the guide to make a few steps even clearer.
We also now have an Assembly Tutorial video that should help those who prefer to learn visually:
It’s permanent home is here: https://www.falkenavionics.com/flightbox/tutorial/
Hi, I’m considering getting a flightbox for use on the ground in Australia with OZRUNWAYS… just checking to make sure that’s do-able and how long to ship. – Thanks!
Steve,
Lead time right now is about 3 weeks. We’ve ordered another round of parts and will be doing assembly as soon as they arrive. I’ve not personally tested with OzRunways (for obvious reasons) but from what I’ve heard, it works quite well. If you order, be sure to order the Single Band version – no need for a second radio in Australia.
Best Regards,
Steve
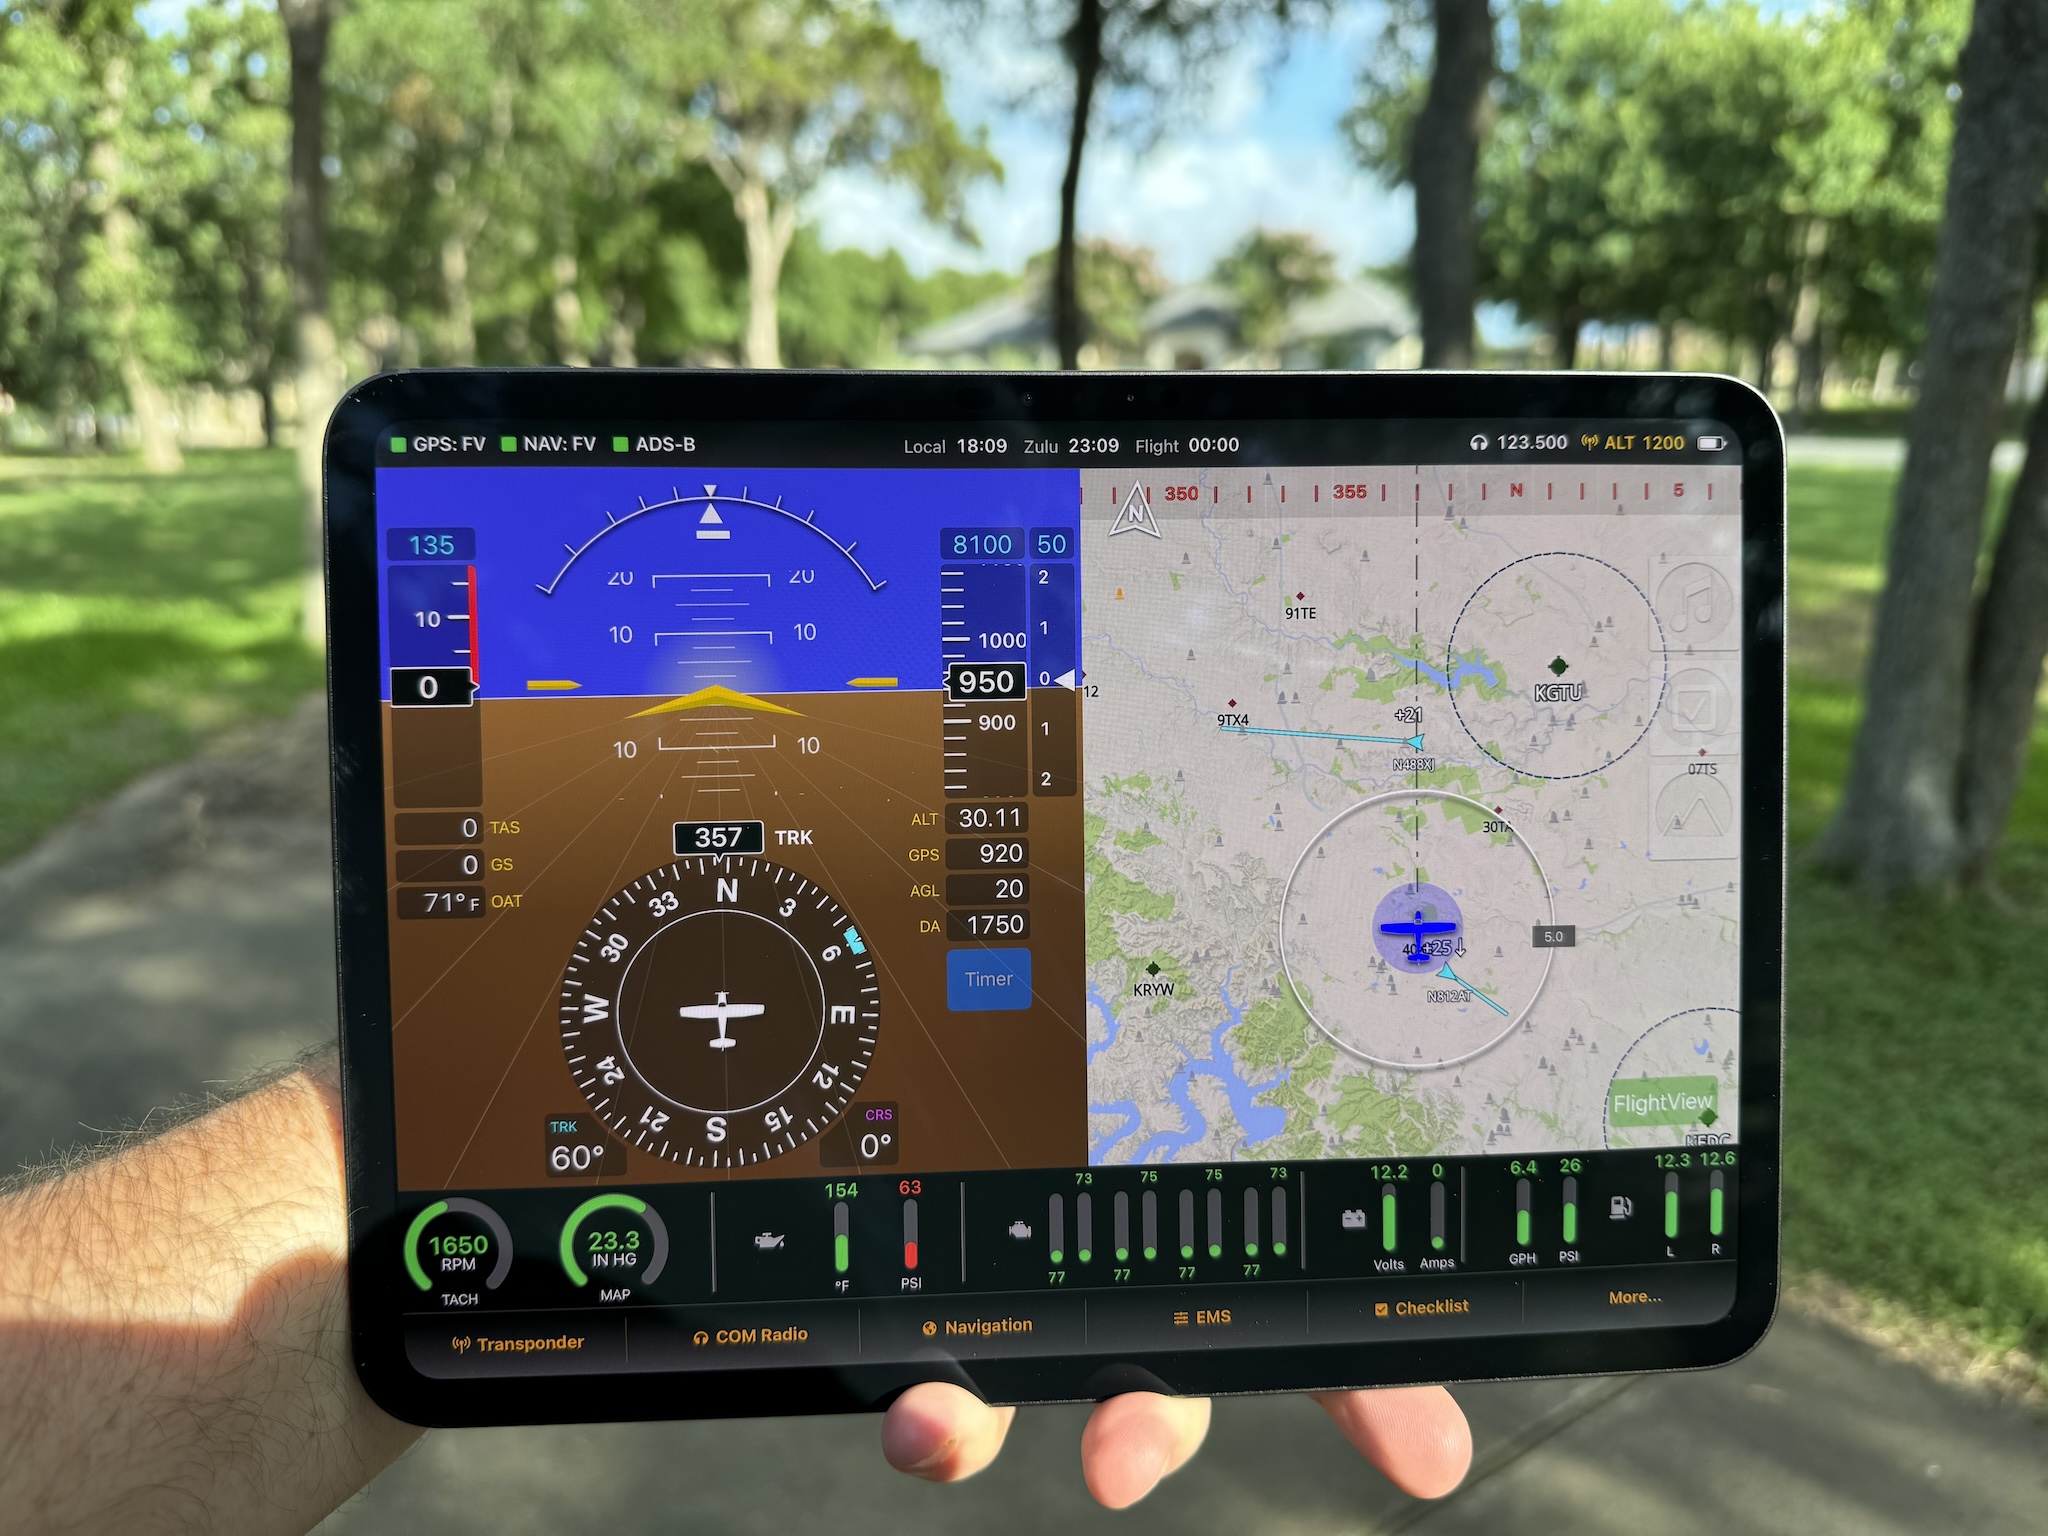
Just got my dual band Flightbox! I assembled it in a few minutes, and everything works as expected. I’m running it with WingX Pro and Foreflight. I can see 1090Mhz transmissions sitting in my office. I need to go flying to see the a UAT tower.
Good job! I already had another RPi and the individual pieces from Amazon working, but this is a much neater package and a better solution for my plane. Thank you for putting the whole package together.
Just got mine today. Beautifully packaged, all components exactly as expected, went together perfectly. Great work! We owe you, your wife and daughter big time!!! Can’t wait to put it to work in the next few days. Thanks very much.
One minor point: the Assembly Guide linked to in this blog entry, https://docs.google.com/viewer?url=https%3A%2F%2Fwww.falkenavionics.com%2Ffiles%2FFlightBox_Assembly_Guide.pdf, references velcro dots in the contents. The printed one included in the package did not. For a few minutes I thought mine were left out until I noticed the printed one differed. You might want to update the linked version to avoid inquiries on this minor point!
Ah, yes. The dots seemed like a good idea at the time but they’re both a major pain to package and they don’t solve the mounting issue for everyone. I found that only one of the ~10 beta testers made use of them. Heavy duty velcro strip and sticky pads (for keeping cell phones on a car dash) are better solutions. I’ll update the version of the doc on the site accordingly.
Good catch. Thanks!
I’ve used my flight box twice now. First the assembly video was GREAT!
I’ve used it with Avare (http://apps4av.com/avare-overview/) on an android tablet. Great results.
Only one issue I’ve found. If I plug the FlightBox into a USB adapter in the 12V outlet on the C172 – I get noise on COMMS. Unplug the power – noise goes away. then i plugged it into a USB battery – no noise. Anyone else have this issue? Wondering if I cant’ throw a filter cap on the power to reduce the noise.
Thanks,
Brian.
Brian,
Dan is correct – many of the cheaper 12v adapters are noisy. I bought one from Sporty’s that did a great job of powering my gear but made a ton of noise. I’ve had really good luck with the Anker PowerDrive 2 – $8 on Amazon.
-S
Brian – over the years I have tried a lot of different brands of USB power adapters had TERRIBLE results some of them, including some given away by vendors at OSH and some expensive ones specifically marketed to pilots like the ones they sell at MyGoFlight. In my Grumman Tiger I have had very good results with a Scosche USBC202M. They are widely available and pretty cheap, I got mine from Amazon. Very low profile too.
I am interested in the Flightbox wondering if the PI 3 and AHARS are very far from inclusion in the project?
Hi H.G.,
We switched over to the Pi 3 a few days ago. To be honest, it won’t make much difference to the user – the Pi 2 was already overkill for the application. The Pi 3 is better for us in terms of complexity, with one less item (wifi module) to source, test, and support. With regard to AHRS, we’re working on it and hope to have an add-on board by Oshkosh. Keep an eye on the blog and / or email (if you’ve subscribed) as we will be sending out updates on a regular basis.
Thanks,
Steve
Brian,
Got my kit a few days ago and put it together. Assemble was a peace of cake and its working like a charm. Have not taken it flying yet in the T-51 yet but will be a great option to use.
Having issues with my unit. In four flight Have used this unit twice in the air worked fine’ but testing it today on the ground with clear view of sky and when I open foreflight targets would only stay on for a few seconds and gone for good. Quest what could be the problem with this?…
Hi Ron,
If you get a chance, please open up the Stratux web console (point your browser to 192.168.10.1) and check the Traffic page to see if the FlightBox is still seeing the targets. That will help us determine if the issue is in FF or FlightBox.
Please email support@falkenavionics.com, as it’s difficult to keep track of support issues on this blog thread.
Thanks,
Steve
Good day Steve,
Thanks for sending the kit. I have a couple of questions.
1. On the Stratux status page, it shows “Disconnected”. I cannot find anyway that I can make it connect. The I-Pad is showing a connection to the Flightbox WiFi and I can access the Stratux pages, but it wont seem to connect. Any thing I have missed?
2. I purchased the single band unit and received a 1090 ES receiver. The antenna however, is the long one with yellow bands. Will this still work on 1090?
Yours assistance would be much appreciated.
Disregard item 1. This turned out to be an I-Pad problem.
I would still like your response to item 2.
Hi Andrew,
Sorry for the confusion. The taller antenna will work for either 978 MHz or 1090 MHz, while the short antenna is only 1090. You should be good to go.
Thanks,
Steve